Deploy Laravel to AWS LightSail
- Date
-
 Aleksandar Cvetanovski
This article is focused on the deployment of Laravel Application in AWS LightSail using Nginx instance on bitnami with pre installed PHP and MariaDB to simplify the whole process.
Prerequisites to Proceed Further
- Basic in Laravel
- Basic in Linux Commands
- Basic in AWS Console
Deploy the Laravel Application to AWS Lightsail
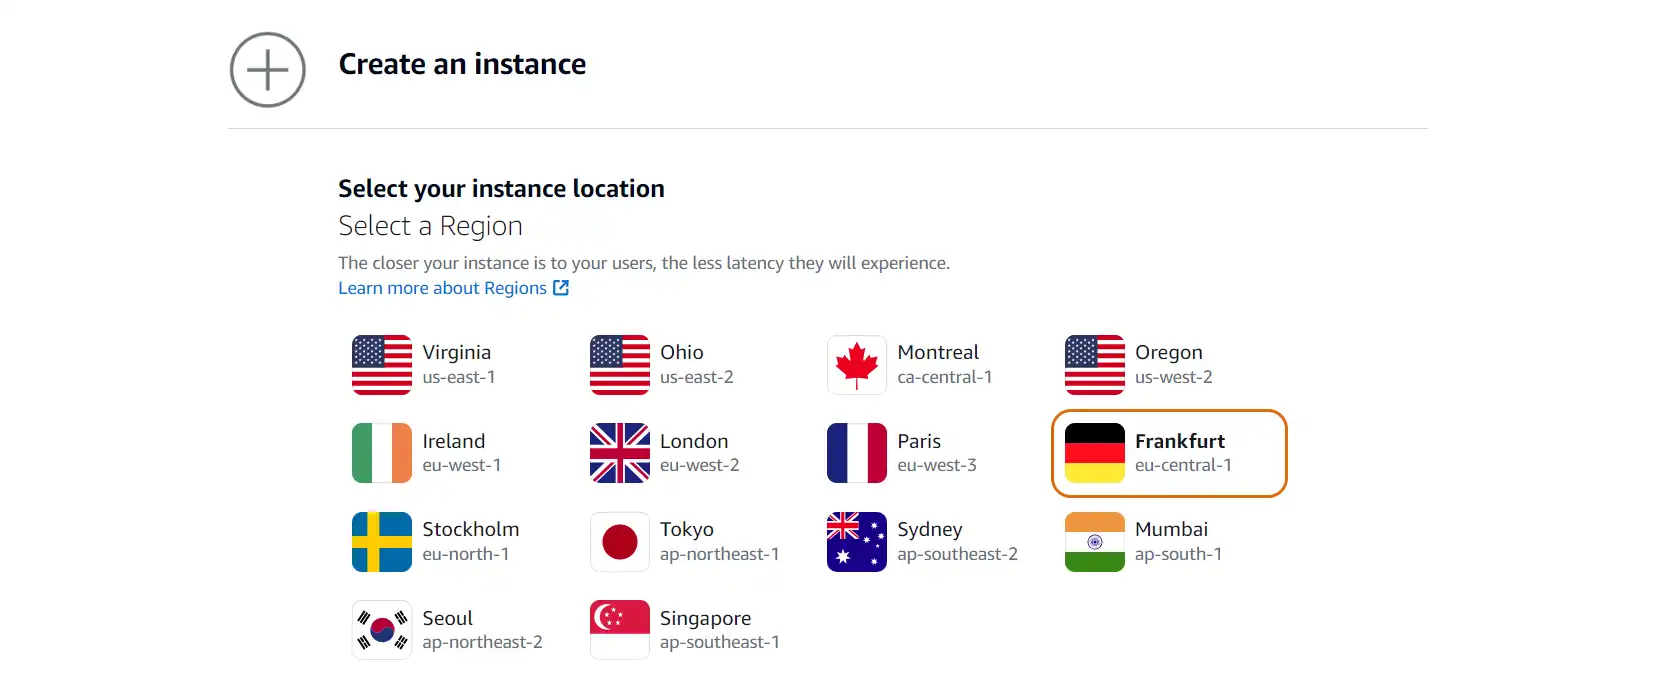
Log in to the AWS console and search or Navigate to the Lightsail console below shown image and click on the create instance for creating a server.

Choose your region I choose closest to the region where the app will be used.
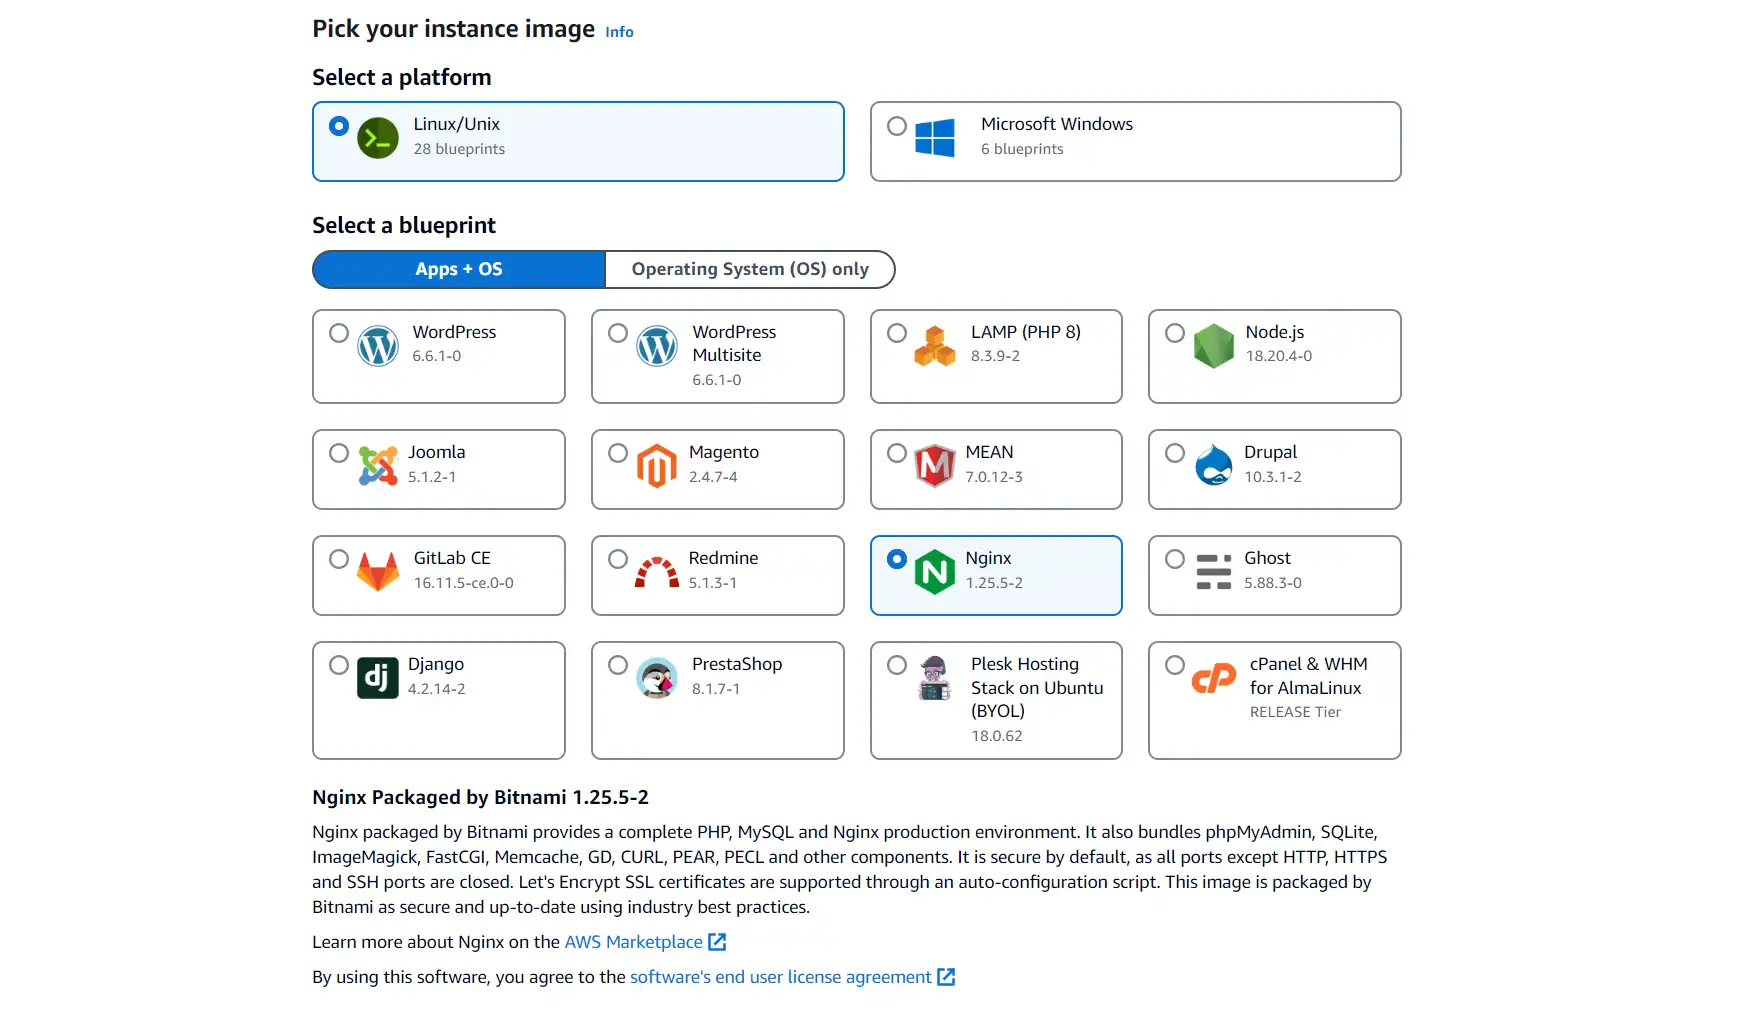
Next, you have to choose the Image you want for your server since most of the Laravel applications run based on the Ubuntu server I choose the NGINX blueprint then scroll down for next.
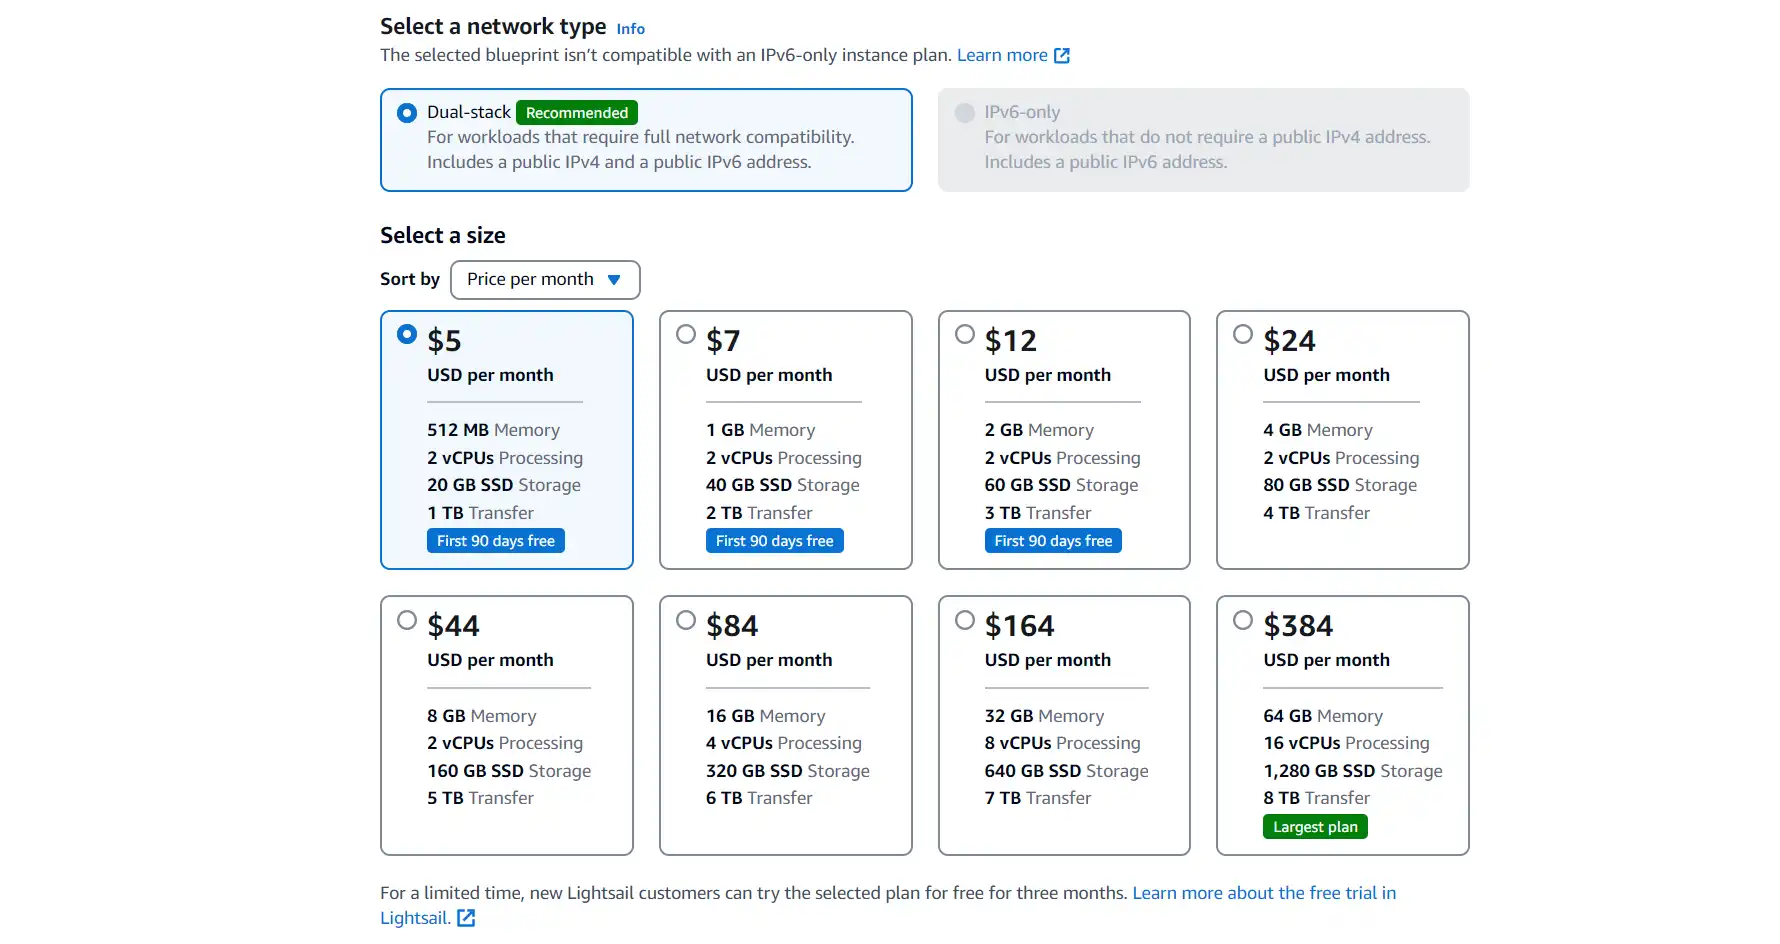
Then choose your type of server that you want to use. Here I choose the cheapest one.
Next, we have to name our instance you can change the name as per your project and the number of instances you want I go with the default and scroll down. And then you have to create the instance by clicking the Create Instance button and waiting for the creation.
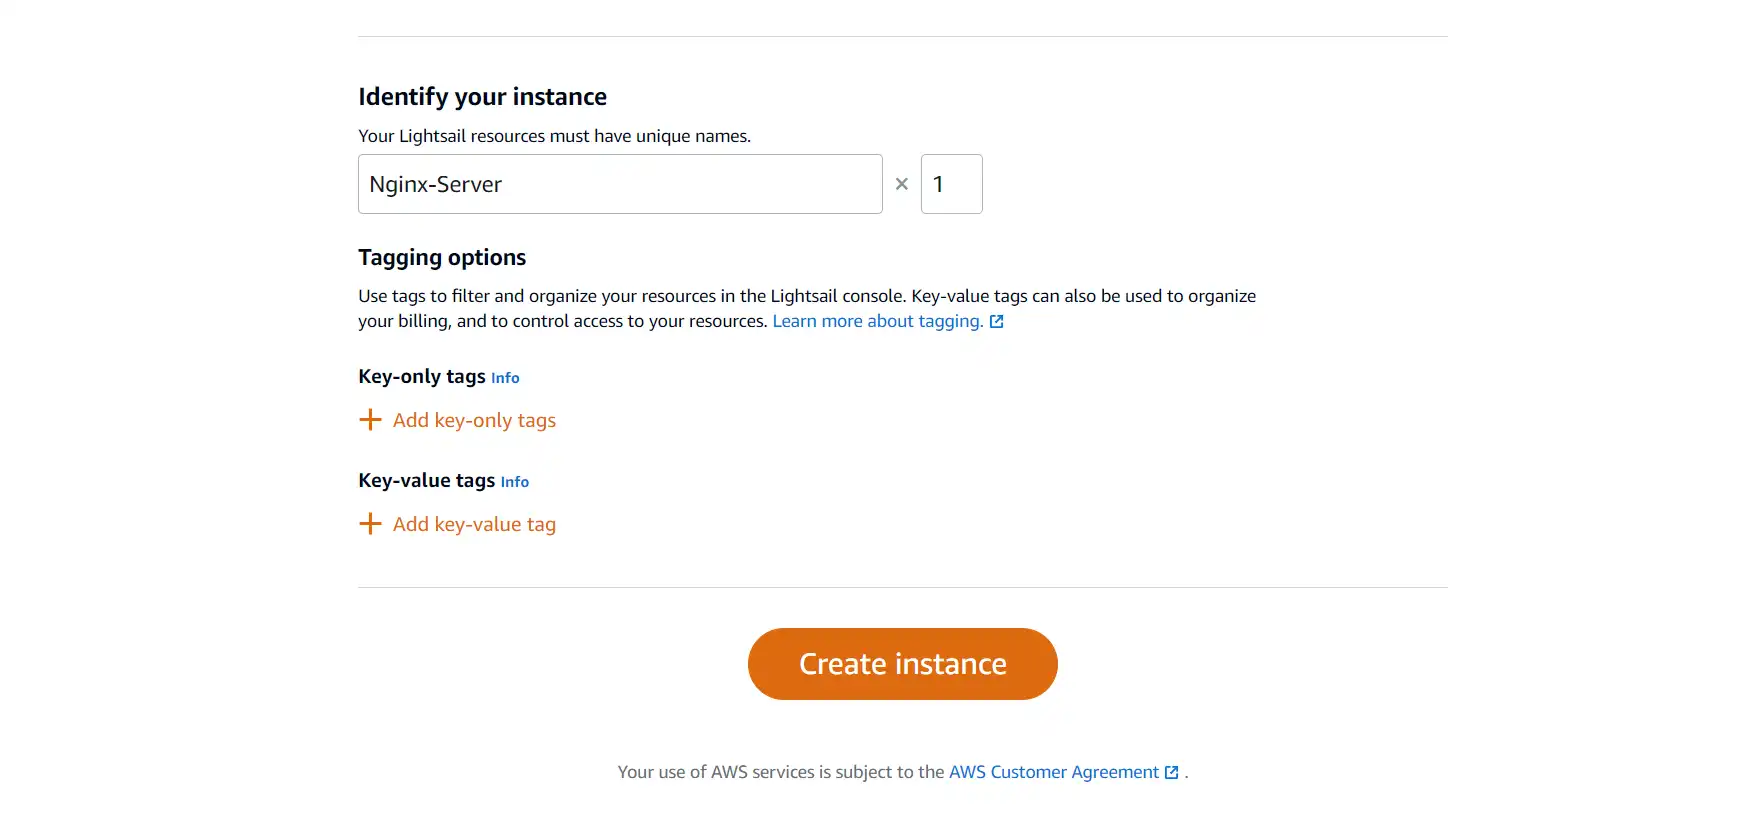
After the creation of Instance will show like the above image and you have to notify and remember some points like:
- Server IP
You can copy the IP to the browser to check if the server is running properly.
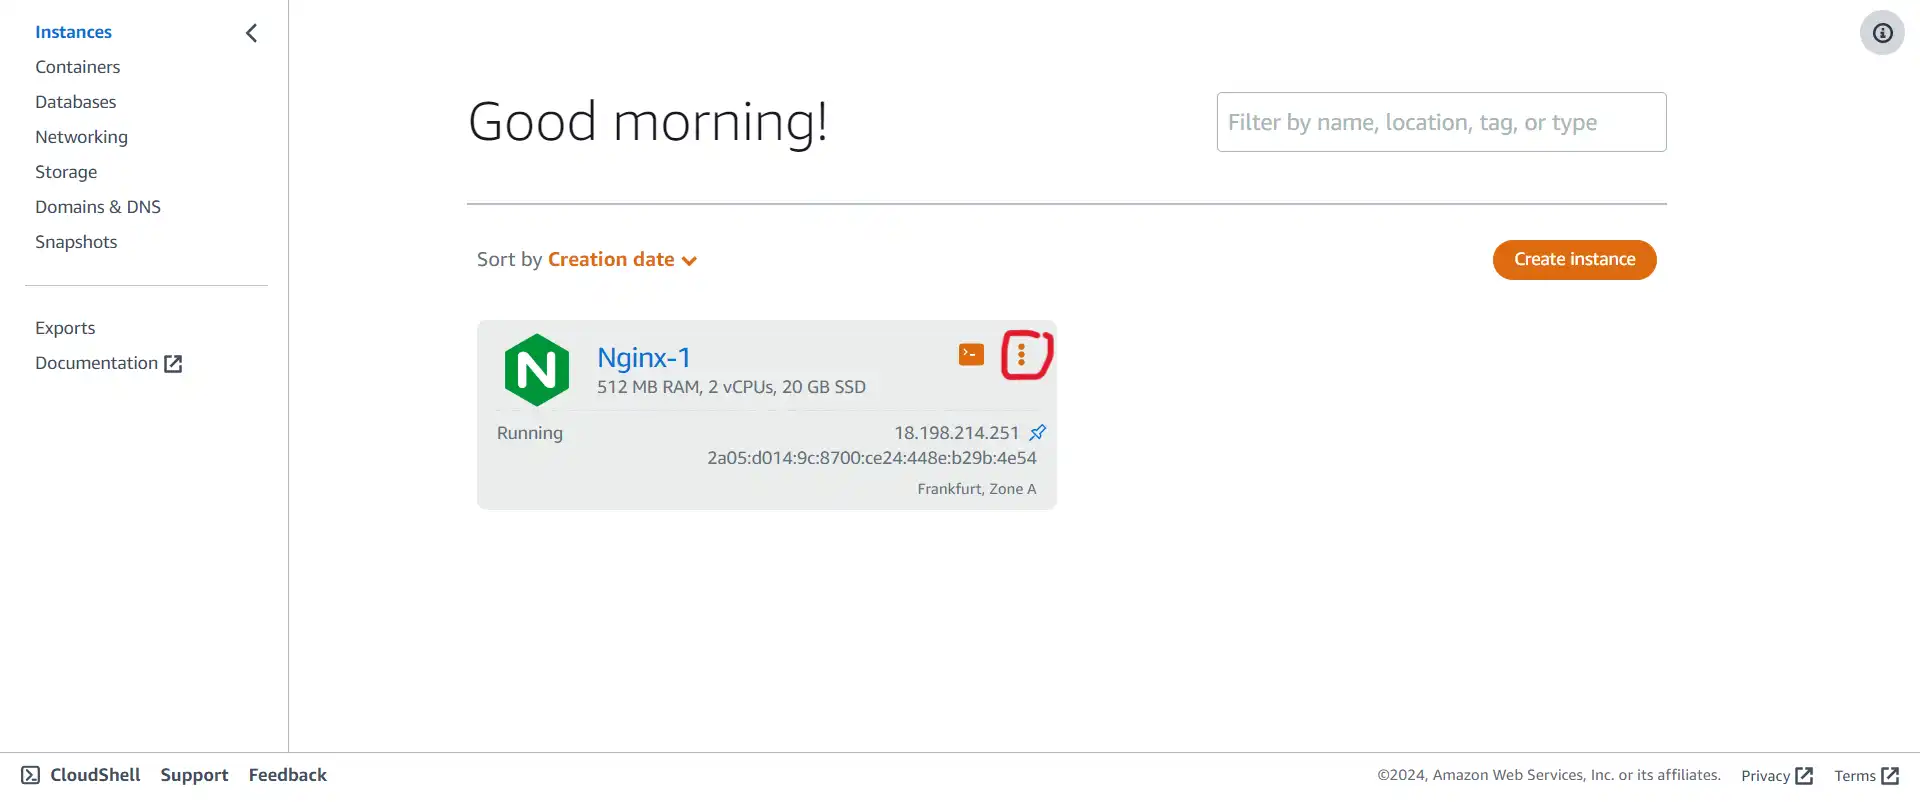
After that we need to open SSH terminal. By clicking on the three dots and then on manage. A screen will open like this one bellow:
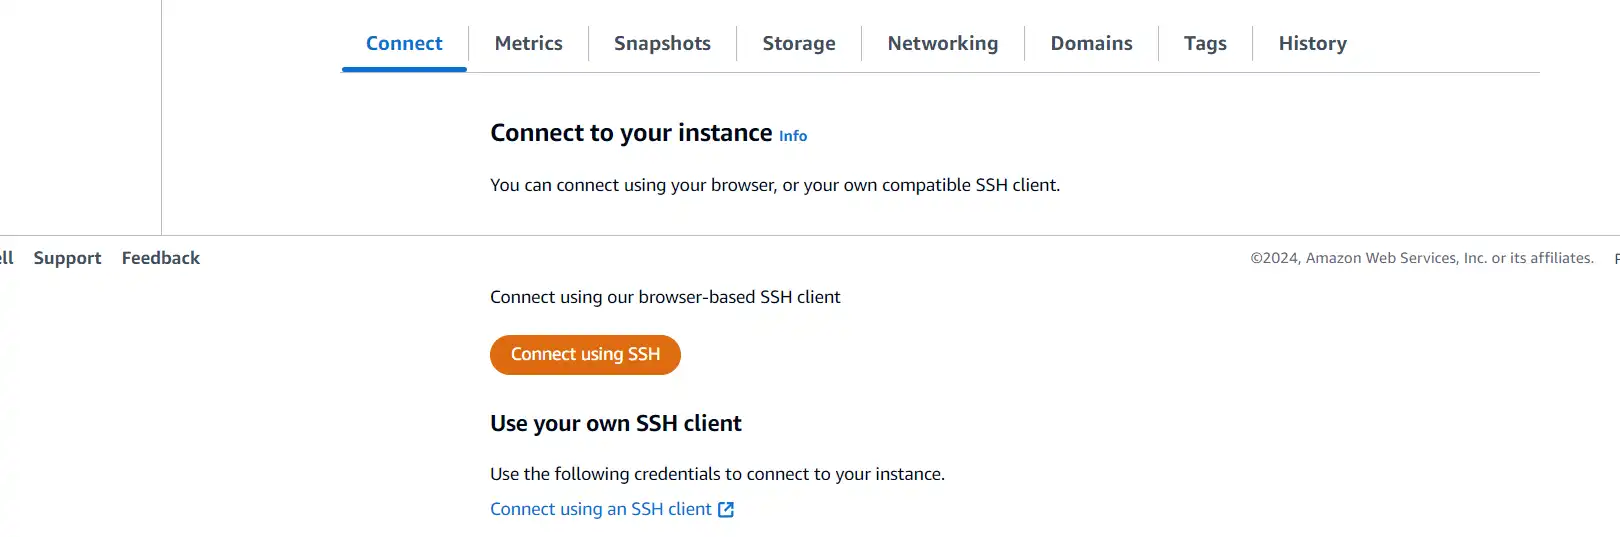
Click on Connect using SSH and the terminal will open.
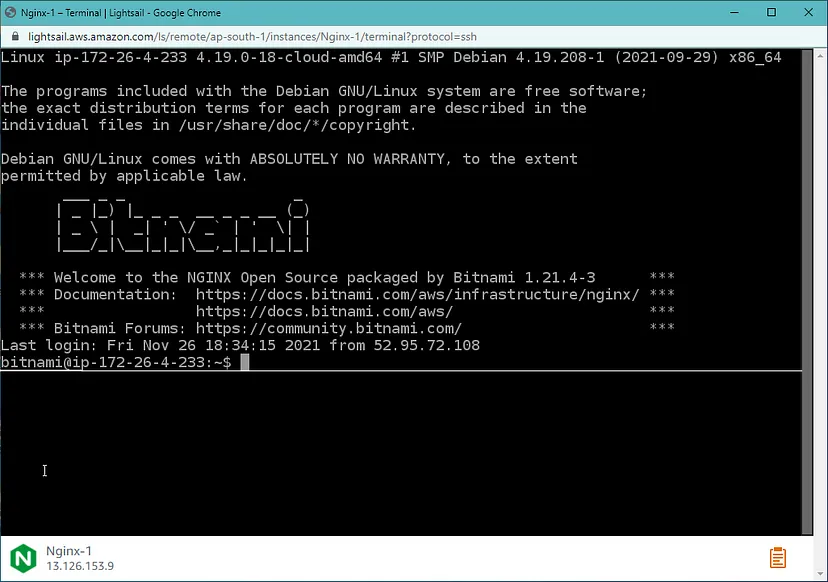
OK. Now we will need an valid SSH key in order to clone our GitHub repository to this server. We can create new SSH Key or use the default one that was created when we create new instance.
Note: Github doesn't alow any more to use password for git clone on Gitlab you can use password and you can skip this step if you want.
Here I am going to create new one using this comand:
ssh-keygen -t rsa
Answer the prompts and generate the new SSH Key Pair. Note the location of the files.
Then we will need to copy the public key in put it in Github. I will use the following command to show the key value. This is for the default location if you change it than change the command respectively.
cat ~/.ssh/id_rsa.pub
Next go to your Github account and navigate to Settings tab.

Then go to SSH and GPG keys
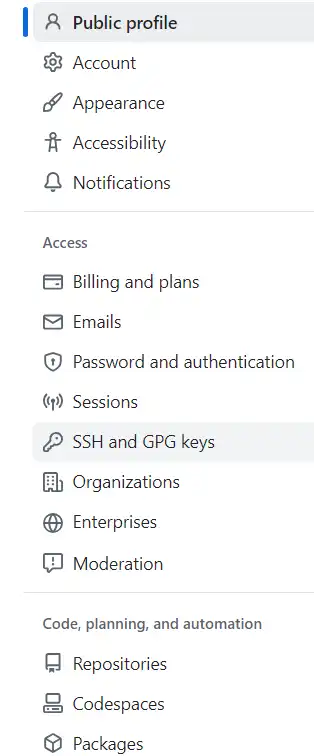
CLick on New SSH key

Paste your pulic SSH key here. And add some title to recognize it there will be others in future.

Then go to your project repository click on Code button and navigate to SSH tab and copy the URL.
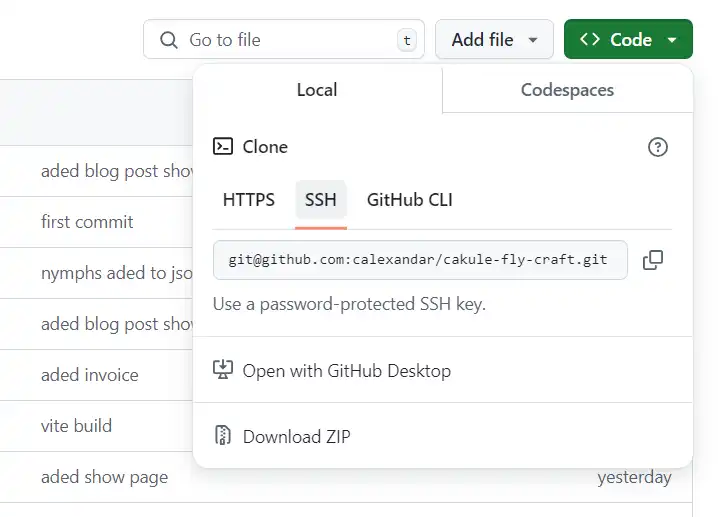
From that, you have to clone your project into the root directory of the server in this case of LightSail NGINX root directory is:
cd /opt/bitnami/nginx/html
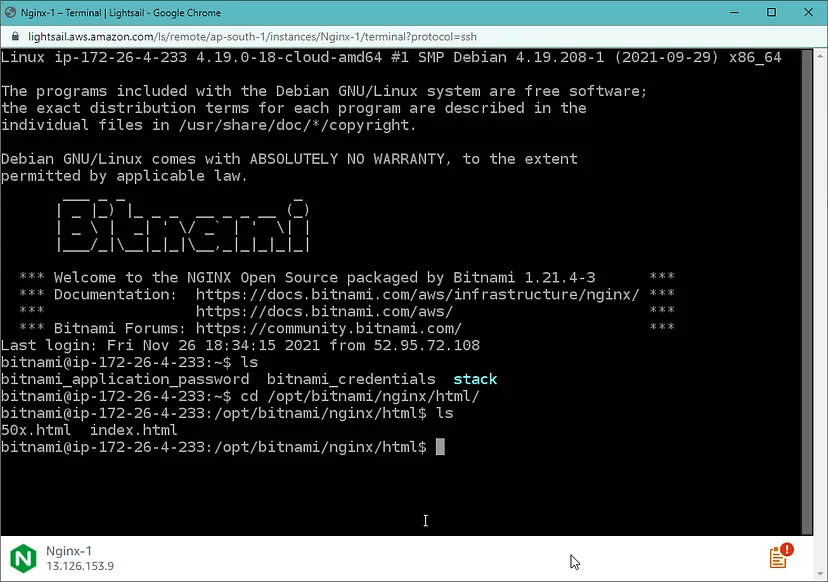
So navigate to the root directory using the above command and clone your project inside the HTML folder by git clone command:
sudo git clone < your project git URL >

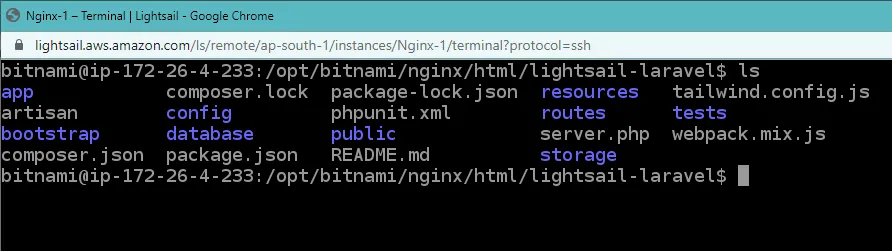
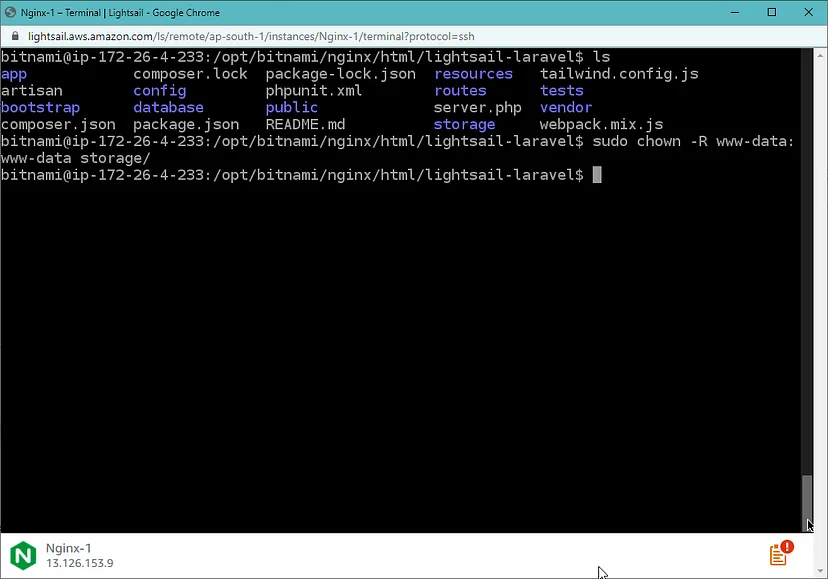
After successfully cloning the project navigate to the project directory. Using “cd” and to list the folders inside the project folder type “ls”.
After that install composer on your project by simply typing:
sudo composer install

After completion of composer install, we have to give the permission to the storage folder by running a command:
sudo chown -R www-data:www-data storage/
Next, we will to copy the .env.example to .env by doing the command below mentioned:
sudo cp .env.example .env

This will copy the content of the .env.example into the .env file that we will configure later after we create database.
Create local MariaDB Database
With this bitnami package the MariaDB is pre installed so we will only need to create the database for our project. If you want you can buy Managed Database from AWS but the configuration will be diferent.
First we will login to the database with the command:
sudo mariadb -u root -p
And enter the password for the database which is the same for the bitnami application.
Here you can find how to obtain it if you missed for some reason.Then I am going to create the database which in my case will be named laravel.
CREATE DATABASE laravel;
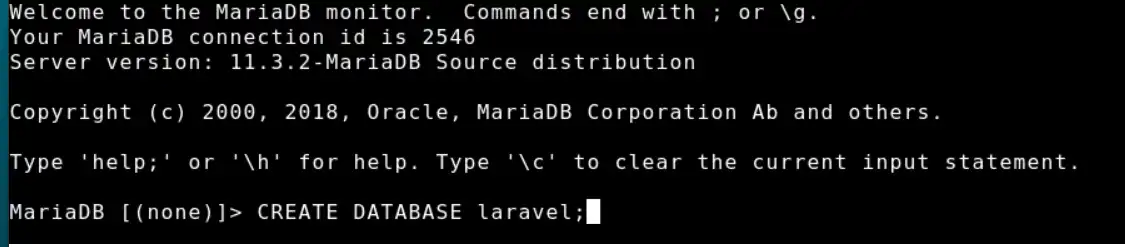
And that will create the database just type exit. Next we will edit the .env file.
Navigate to the project folder and we have to input that in the .env file for that run the command to edit the .env in our server SSH.
sudo nano .env

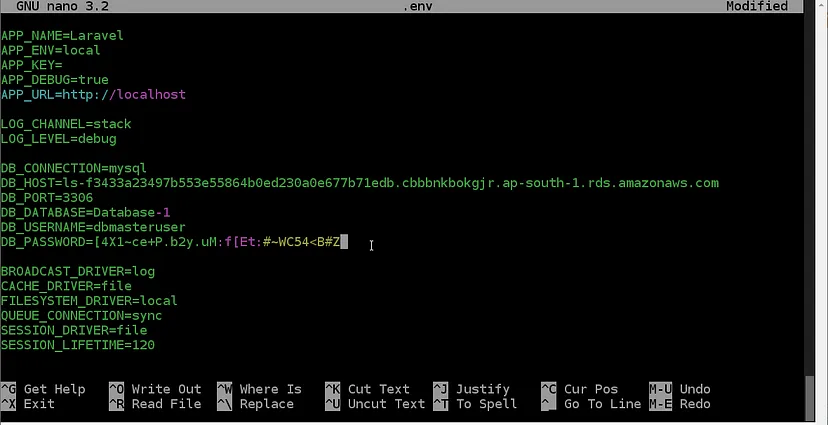
Here edit the DB_CONNECTION to mariadb for Laravel 11 then DB_DATABASE is laravel and DB_USERNAME is root in our case, the DB_PASSWORD is the app password respectively.
Note: For saving press ctrl+O and press enter for exiting the editor press ctrl + x
After successfully saving all data we have to start the database migration for that you have to run the below commands in your project root directory.
sudo php artisan key:generate
sudo php artisan migrate
sudo php artisan storage:link
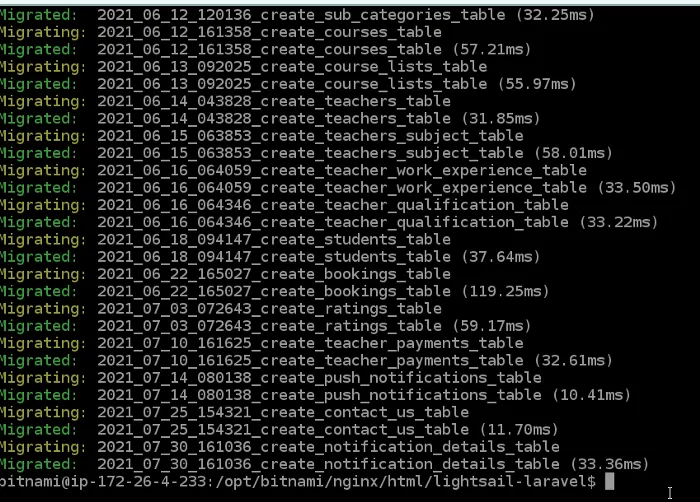
If some might face any issues during the migration it's because of permission or maybe the credentials are mismatched. So if it’s a permission issue then run the below command to give permission to “storage/logs/laravel.log”
sudo chmod -R 777 storage/logs/
Create NGINX configuration for your application
Here we have to create two configurations one is for HTTP and another one is for HTTPS. So we have to navigate to the nginx server_blocks folder:
cd /opt/bitnami/nginx/conf/server_blocks/
1. HTTP Configuration
Copy the “sample-http-server-block.conf.disabled” file in to new file called “laravel-http-server-block.conf”.
sudo cp sample-http-server-block.conf.disabled laravel-http-server-block.conf
Edit HTTP
sudo nano laravel-http-server-block.conf
And change the root path to our project path for my case you can notice the below image and if you have a domain that is pointed to the Server IP then there you can see “server_name _;” replace the underscore ( _ ) front of the semicolon (;) with your domain and if you don’t have a domain, it remains same and it will run on the IP.
server {
listen 80;
listen [::]:80;
server_name example.com;
root /opt/bitnami/nginx/html/laravel/public;
add_header X-Frame-Options "SAMEORIGIN";
add_header X-Content-Type-Options "nosniff";
index index.php;
charset utf-8;
location / {
try_files $uri $uri/ /index.php?$query_string;
}
location = /favicon.ico { access_log off; log_not_found off; }
location = /robots.txt { access_log off; log_not_found off; }
error_page 404 /index.php;
location ~ \.php$ {
fastcgi_pass unix:/opt/bitnami/php/var/run/www.sock;
fastcgi_param SCRIPT_FILENAME $realpath_root$fastcgi_script_name;
include fastcgi_params;
fastcgi_hide_header X-Powered-By;
}
br
location ~ /\.(?!well-known).* {
deny all;
}
}
2. HTTPS Configuration
Next we need to copy the “sample-https-server-block.conf.disabled” file in to “laravel-https-server-block.conf”.
sudo cp cp sample-https-server-block.conf.disabled laravel-https-server-block.conf

Then we will edit this file add certificates and redirect the 80 port to point to this secure configuration. This way you can add multiple sites to one server.
Edit HTTPS
sudo nano laravel-https-server-block.conf
And change the root path to our project path for my case you can notice the below image and if you have a domain that is pointed to the Server IP then there you can see “server_name _;” replace the underscore ( _ ) front of the semicolon (;) with your domain and if you don’t have domain, it remains same and it will run on the IP.
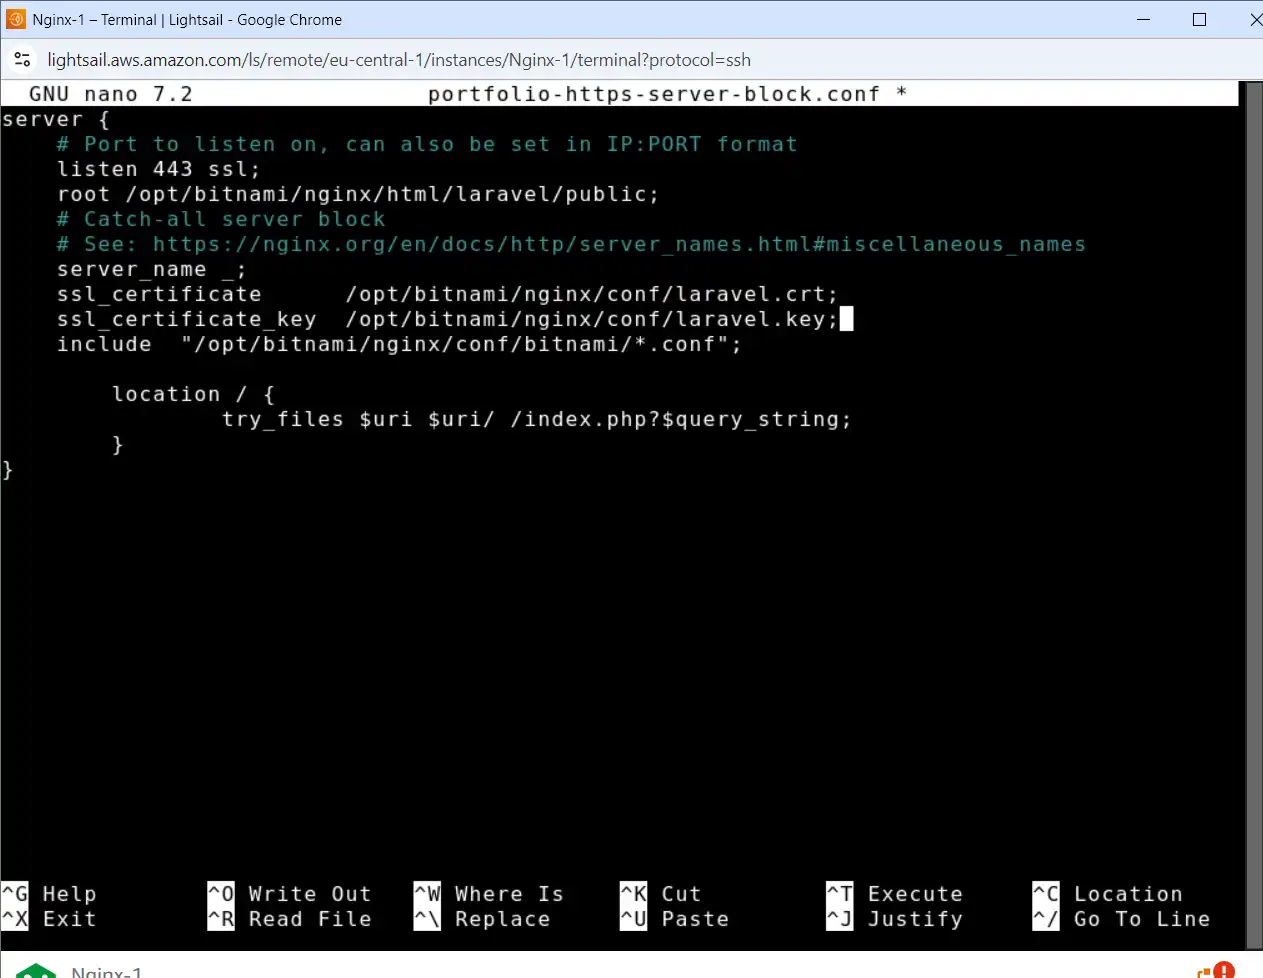
For saving press ctrl+O and press enter for exiting the editor press ctrl + x
After saving the above two configurations we have to Restart NGINX. For restarting NGINX use the below command:
sudo /opt/bitnami/ctlscript.sh restart nginx
Create Let's encrypt free certificate
With the command below you can create certificate for you site. But you will also need to make adition configuration like adding A record (www.sitedomain.com) to your domain and enable 443 port to AWS firewall.
sudo /opt/bitnami/bncert-tool
More on this read the documentation on the links bellow:
After you create the certificates they will be aded automatically to the server block file. But recheck to see if the path is correct and restart NGINX server.
Then again run the IP in your browser some of them can see their project running successfully. If some might have got this error you can solve this type of issue by giving permission to the folders.
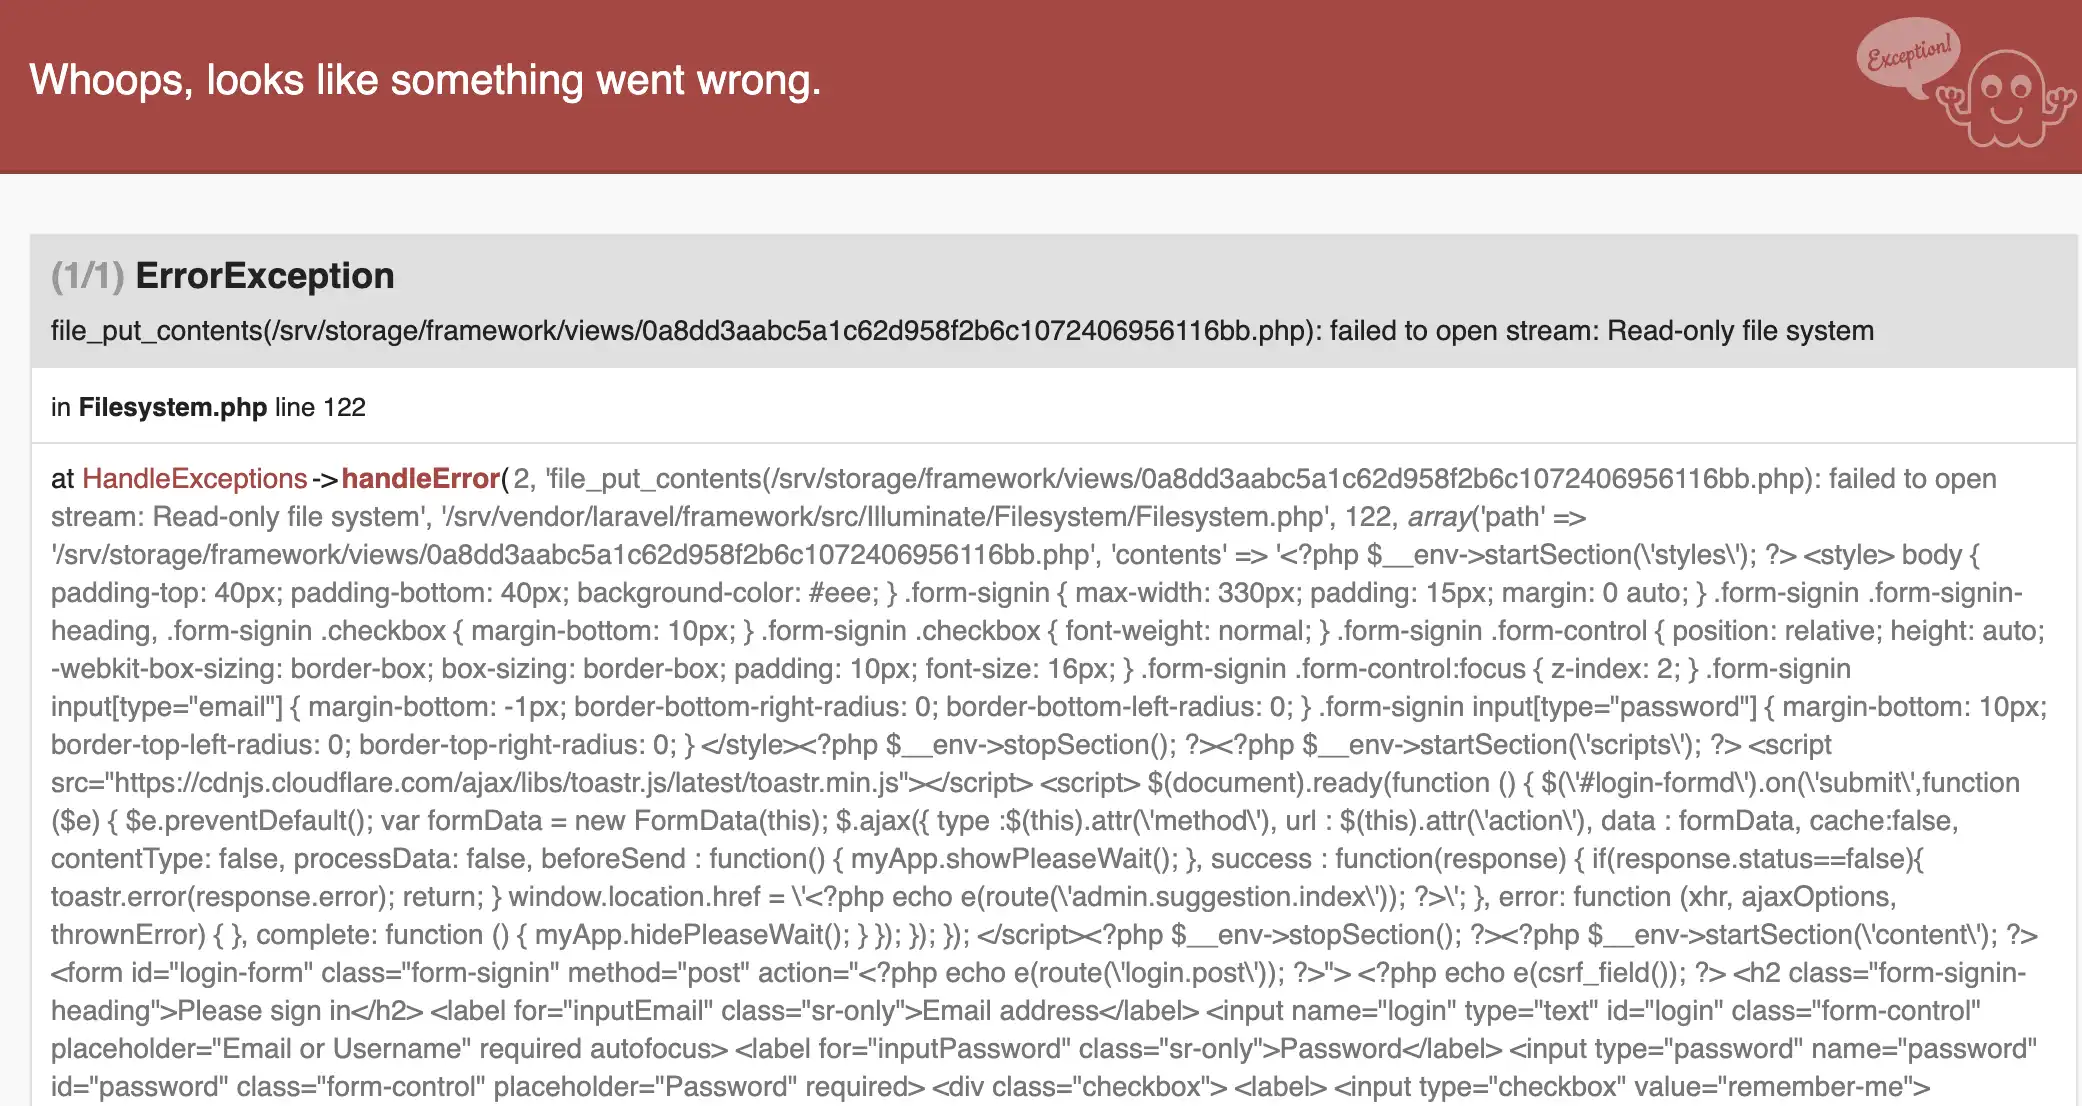
For that, we have to run the permission command below mentioned:
Navigate to the storage folder of you project
cd /opt/bitnami/nginx/html/< project_name >/storage
sudo chmod -R 777 framework
Then refresh your IP in a web browser and it will run your project successfully!

Do all the steps as shown and if you are stack someware please send a message I will be more then glad to help. After all this is manual deployment that for sure it has to be done al least ones in a time. There are automated systems like Laravel Forge , Deployer and others. You can add Github Actions also to automate the process.
Thank you for reading.
You can sign up for more content in the field bellow.